Grout is a specialized material that fills the joints between tiles and creates a cohesive, uniform surface. Often composed of cement, sand, water, and sometimes additives like epoxy or polymers, grout prevents tiles from shifting and serves as a protective barrier against moisture, dirt, and other debris. In many ways, grout is the unsung hero of tiling projects: while it may not receive as much attention as the tile design, it significantly influences how the finished surface looks and performs over time.
Why Grout Matters in Tile Installations
One of the primary reasons grout plays such an essential role is its ability to stabilize tile layouts. By locking tiles in place, grout mitigates the risk of cracked or misaligned surfaces resulting from foot traffic, temperature fluctuations, or minor shifting in the underlying floor or wall. Moreover, grout seals the gaps where water might otherwise penetrate—a particularly critical feature in rooms like bathrooms, kitchens, and laundry areas, where excess moisture can lead to mold, mildew, or even structural damage if left unchecked.
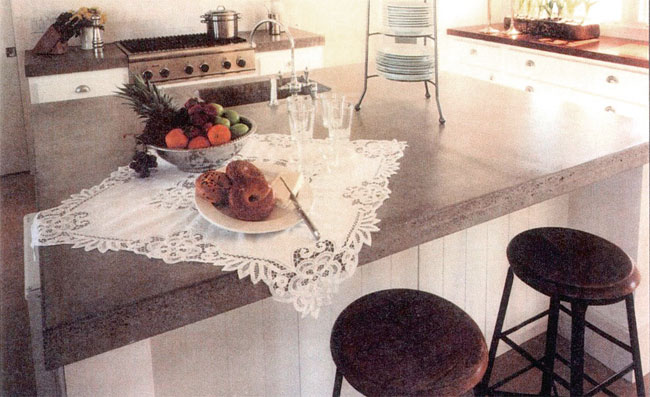
Grout also creates a clean, finished appearance by visually unifying a collection of individual tiles. Whether the tiles are large format, mosaic, ceramic, porcelain, or natural stone, properly applied grout elevates the look of any space. When its color complements the tile or provides an appealing contrast, grout can either blend seamlessly for a minimalist design or draw attention to the layout with bold lines and patterns.

Understanding the Main Types of Grout
Grout is not one-size-fits-all. Different formulations exist to address varying challenges, such as joint width, foot traffic, moisture exposure, and chemical resistance. The four common categories are:
- Sanded Grout
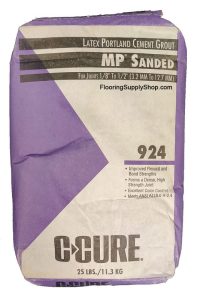
- Composition: A blend of cement, sand particles, and water-retaining additives.
- Ideal Use: Joints typically wider than 1/8 inch. This type is often seen on floors or larger-format wall tiles.
- Advantages: Sanded grout is generally tough, more affordable, and widely available. The sand content helps reduce shrinkage, which is crucial for maintaining consistent grout lines over time.
- Drawbacks: The coarse texture can be slightly rough to the touch, and it requires sealing to protect against stains or moisture intrusion.
- Unsanded Grout
- Composition: Cement-based formula without the addition of coarse sand.
- Ideal Use: Smaller grout lines between 1/16 and 1/8 inch, especially for vertical surfaces like shower walls, backsplashes, or intricate mosaic tiles.
- Advantages: It creates a smooth, refined look that’s ideal for delicate or polished tile surfaces. It also makes it easier to fill narrow joints without scratching the tile.
- Drawbacks: Unsanded grout can be more prone to shrinkage, which means it may require additional layers or careful application to ensure even coverage.
- Epoxy Grout
- Composition: A resin-based mixture that typically combines epoxy resins and a separate hardener.
- Ideal Use: High-traffic areas like kitchens, bathrooms, commercial settings, and spaces prone to stains or heavy moisture.
- Advantages: Epoxy grout is extremely durable, stain-resistant, and doesn’t require sealing. Many installers praise it for maintaining its color vibrancy over time.
- Drawbacks: It tends to be more expensive and has a shorter working time before it starts setting. It also demands more skill and speed during installation.
- Furan Grout
- Composition: Formulated with polymers that create a thermosetting reaction, resulting in robust chemical resistance.
- Ideal Use: Industrial floors, laboratories, commercial kitchens, or areas exposed to strong cleaning agents and harsh conditions.
- Advantages: Exceptional durability and chemical resistance, making it the go-to choice in certain specialized environments.
- Drawbacks: Hardly ever found in residential settings due to its complexity and specialized application techniques.
Choosing the Right Grout Color
Selecting a grout color can be just as important as picking the tile itself. A harmonious color that closely matches the tile shade offers a seamless, unified look—a technique often used in modern, minimalist designs. Alternatively, a contrasting color highlights the layout, making each tile stand out as a distinct element. This bold approach is popular in contemporary or eclectic interiors where the geometry of the tile pattern becomes a design feature in its own right.
Additionally, the practical aspect of color choice should not be overlooked. Lighter grouts can brighten a space and make it appear larger but may reveal stains or discoloration more readily. Darker grouts conceal dirt and grime but might show the buildup of soap scum or mineral deposits in wet areas.
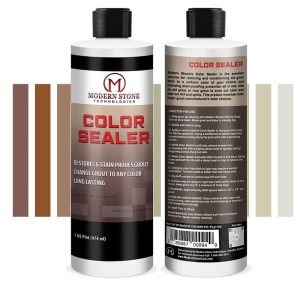
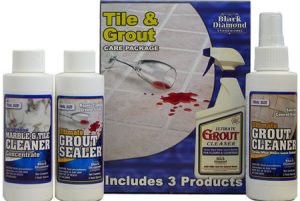
Why and How to Seal Grout
Most cement-based grouts (sanded and unsanded) have a porous surface that can absorb water, dirt, and bacteria over time. Sealing forms a protective layer that repels moisture and common household stains like food splashes or mold. While epoxy grouts are generally non-porous and don’t require sealing, cementitious grouts often need this extra step.
- Sealer Types: Penetrating sealers soak into the grout, forming a barrier beneath the surface. These are excellent for maintaining the original look without leaving a visible film. Topical sealers, on the other hand, create a protective layer on top, offering a glossy sheen but sometimes altering grout’s texture.
- Application: Although specific products vary, many sealers are brushed or sprayed directly on the grout lines. It’s essential to wipe away any excess product from the tile surface to avoid a hazy residue.
- Resealing Frequency: High-traffic or frequently wet areas like showers might need resealing every year or two. Less-used spaces, such as a decorative wall with minimal exposure to humidity or dirt, can go longer between sealing sessions.
Common Grout Issues and How to Address Them
Even when grout is applied skillfully, problems can arise due to wear, environmental factors, or subpar materials.
- Cracking
- Cause: Movement in the substrate, thermal expansion, or structural shifts can place stress on the grout lines.
- Solution: Small cracks can be repaired with matching grout or flexible sealant. Widespread cracking often indicates a deeper issue such as improper substrate preparation. In this case, regrouting or reinstalling tiles with improved underlayment might be necessary.
- Discoloration
- Cause: Stains from spills, minerals in water, or dirt buildup can alter grout color.
- Solution: Mild cleaning solutions or steam cleaning can alleviate surface-level discoloration. More stubborn stains might require a grout colorant or an overall regrouting effort.
- Mold and Mildew
- Cause: Damp, poorly ventilated areas (like showers or backsplashes near a sink) can foster bacterial and fungal growth.
- Solution: Regular cleaning with appropriate solutions and ensuring adequate ventilation can help keep mold at bay. Sealing the grout also reduces moisture penetration, making it harder for mold to take root.
- Grout Haze
- Cause: Residue left behind if grout isn’t thoroughly wiped off the tile surface during installation.
- Solution: Specialized haze removers or a solution of water and vinegar can help dissolve stubborn residue. Acting quickly is crucial, as dried haze becomes increasingly difficult to remove over time.
DIY Grout Installation Tips
For homeowners who enjoy tackling their own renovation projects, grouting doesn’t have to be daunting if approached with the right tools and preparation.
- Gather Supplies: A grout float, sponges, a bucket of clean water, protective gloves, and the appropriate grout mix are essential.
- Follow Mixing Instructions: Consistency matters. Avoid adding too much water, as it can weaken the grout and cause shrinkage or cracking.
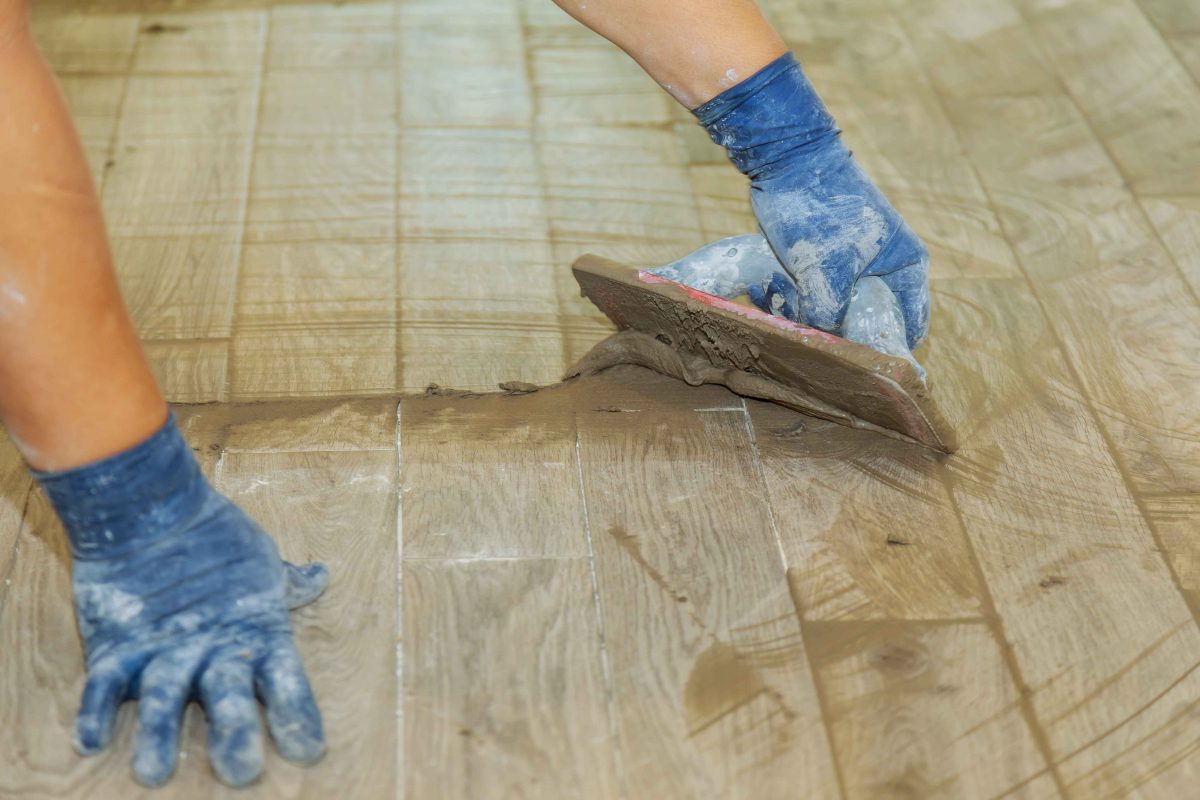
- Work in Small Sections: Apply grout diagonally across tile joints with the float angled to press the mixture in thoroughly. Wipe off excess promptly to minimize haze.
- Timing Is Everything: Once the grout begins to set, a damp sponge should be used to gently clean the tile surface without pulling grout from the joints.
- Final Polish: A second or third pass with a cleaner sponge, or even a microfiber cloth, ensures all residue is removed and the tiles shine.
Maintaining Grout Over the Long Term
Good grout maintenance is about consistency and timely intervention.
- Regular Cleaning: Gentle cleaners and a soft brush or cloth should be used to remove surface grime. Abrasive brushes can wear away grout, so it’s best to avoid overly aggressive scrubbing.
- Control Humidity: In places like bathrooms or laundry rooms, proper ventilation (via exhaust fans or open windows) lowers the chance of mold or mildew growth.
- Spot Check and Repair: Addressing small cracks or discoloration quickly prevents them from becoming bigger issues.
- Periodic Sealing: If your grout is cement-based, reapply sealer at intervals recommended by the manufacturer to maintain an effective moisture barrier.
While tiling is the most common application, grout appears in various construction and repair tasks. It can be used to fill foundation cracks, anchor posts, or even stabilize masonry structures. Specialized grouts—like high-performance or non-shrink formulations—can play a role in structural projects, emphasizing how versatile grout can be in both residential and industrial settings.