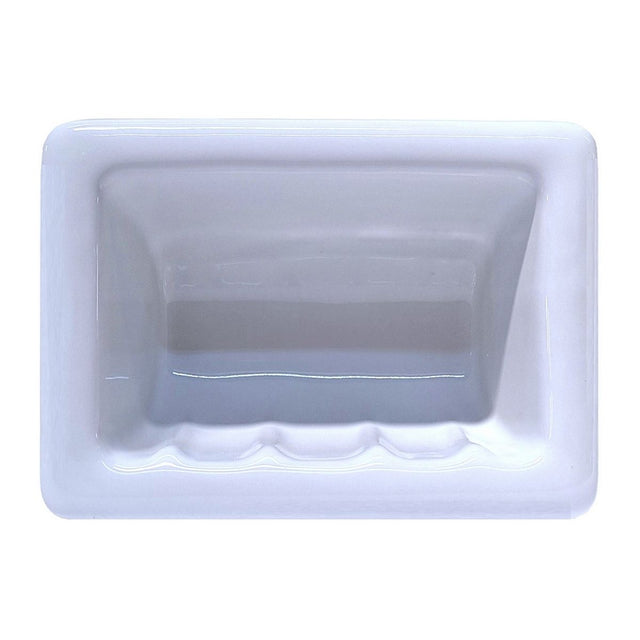
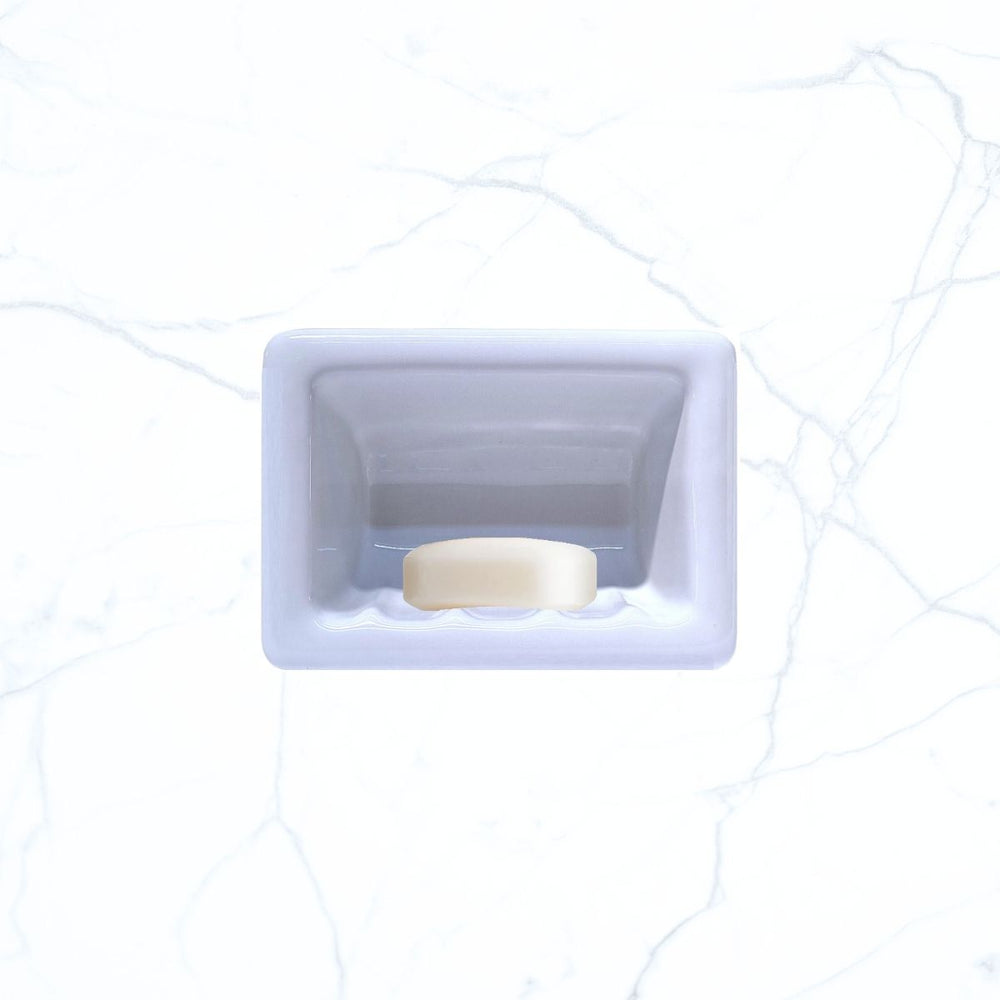
SereneDrains Porcelain Recessed Soap Dish White Glossy 6x4 Holder Shower Wall Mount Tray
Couldn't load pickup availability
Delivery and Shipping
Delivery and Shipping
- Orders are shipped via USPS, UPS, or FedEx.
- Shipping time up to 5 business days. Weekends not included.
- Express shipping options available.
- Same-day shipping cut-off time 4:00 PM PST for most items.
- For oversized shipments that require freight delivery, our team will contact you.

SereneDrains Porcelain Recessed Soap Dish White Glossy 6x4 Holder S...
Description
Description
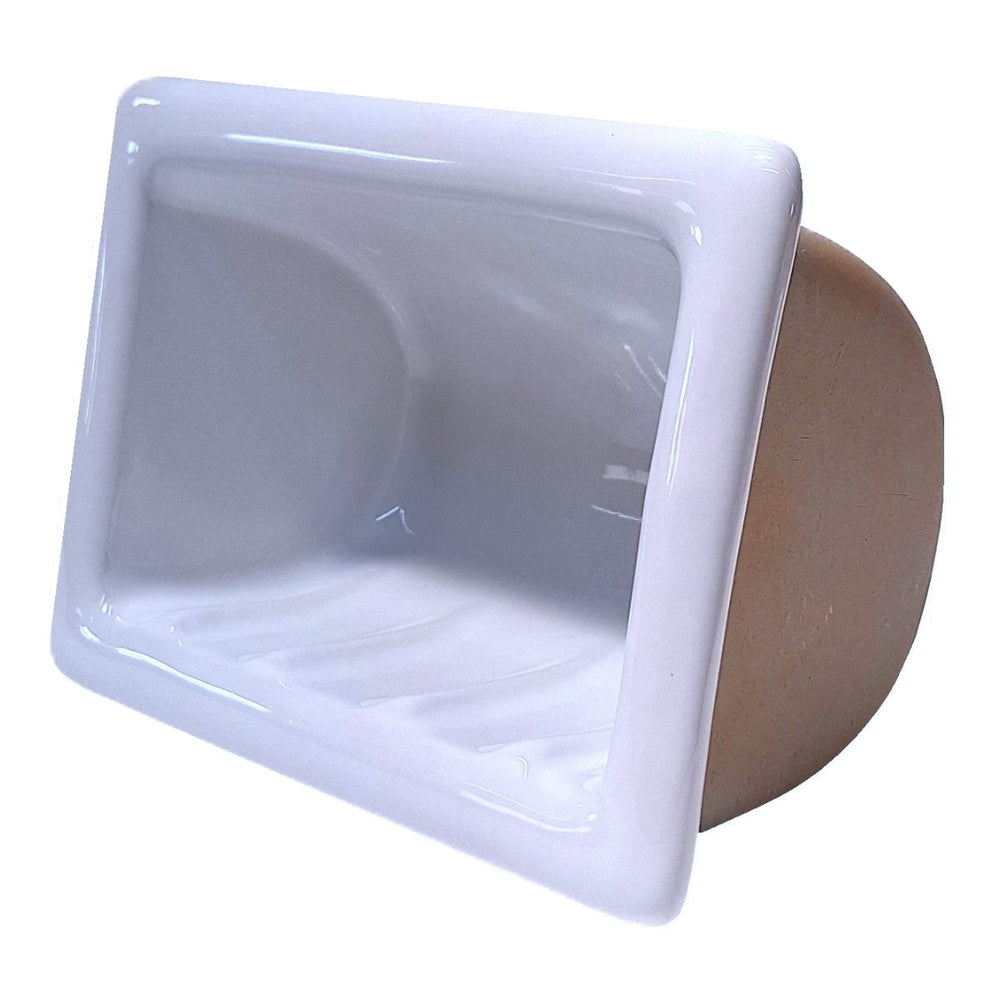
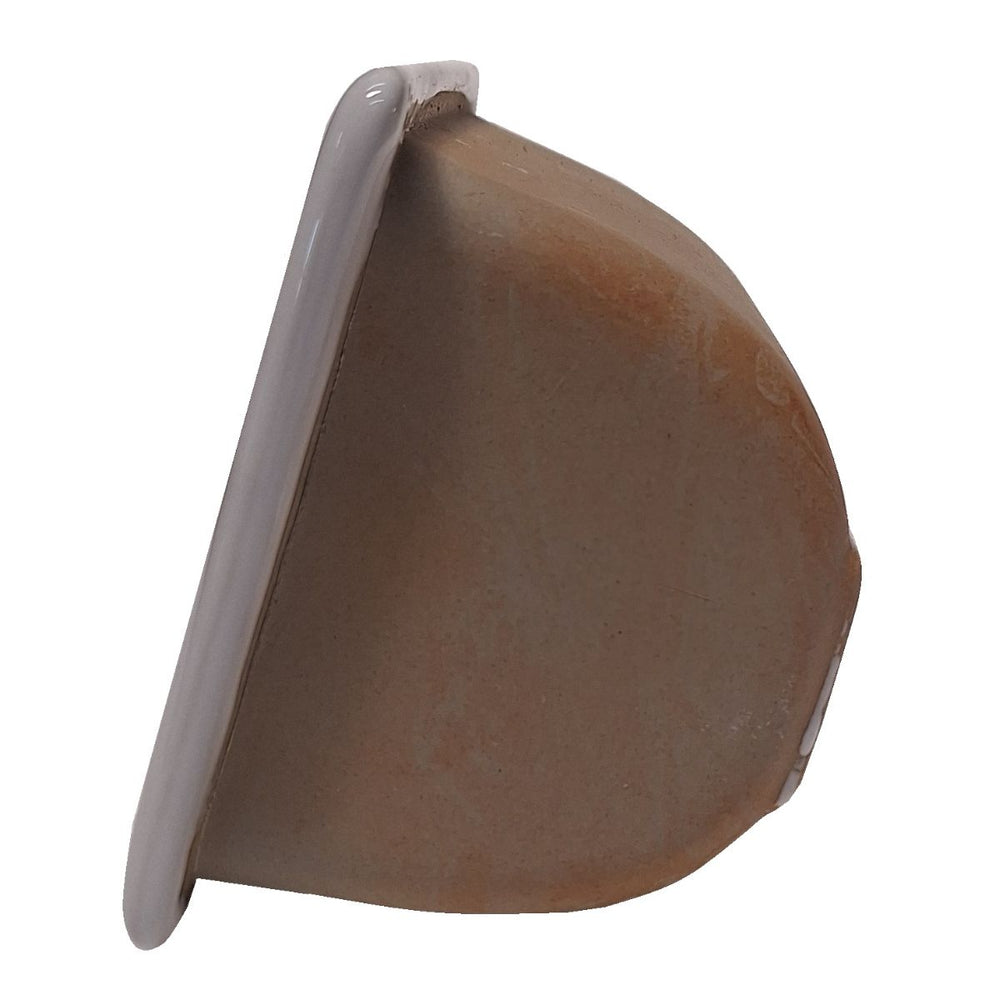
Porcelain Soap Dish - Wall Mounted Thin set Installation
Color: White Glossy
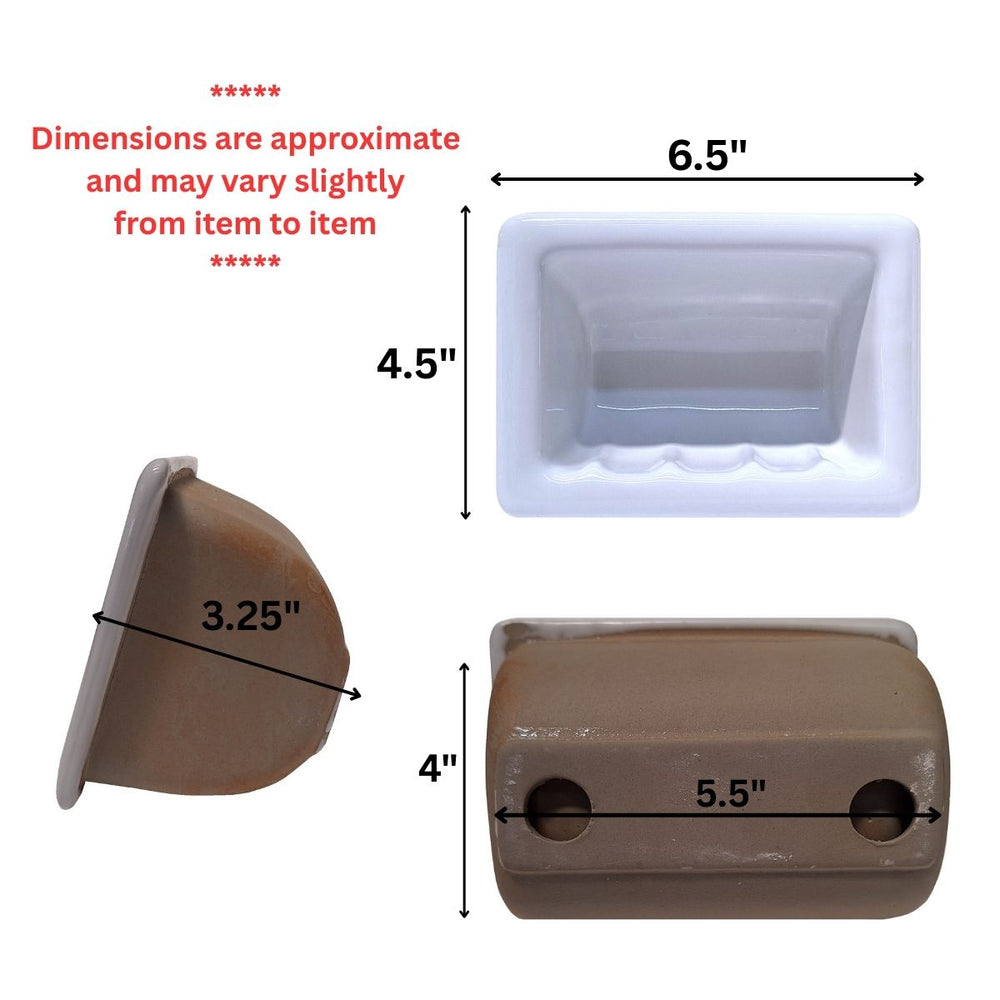
Dimensions
Front: 6.5"x4.5"
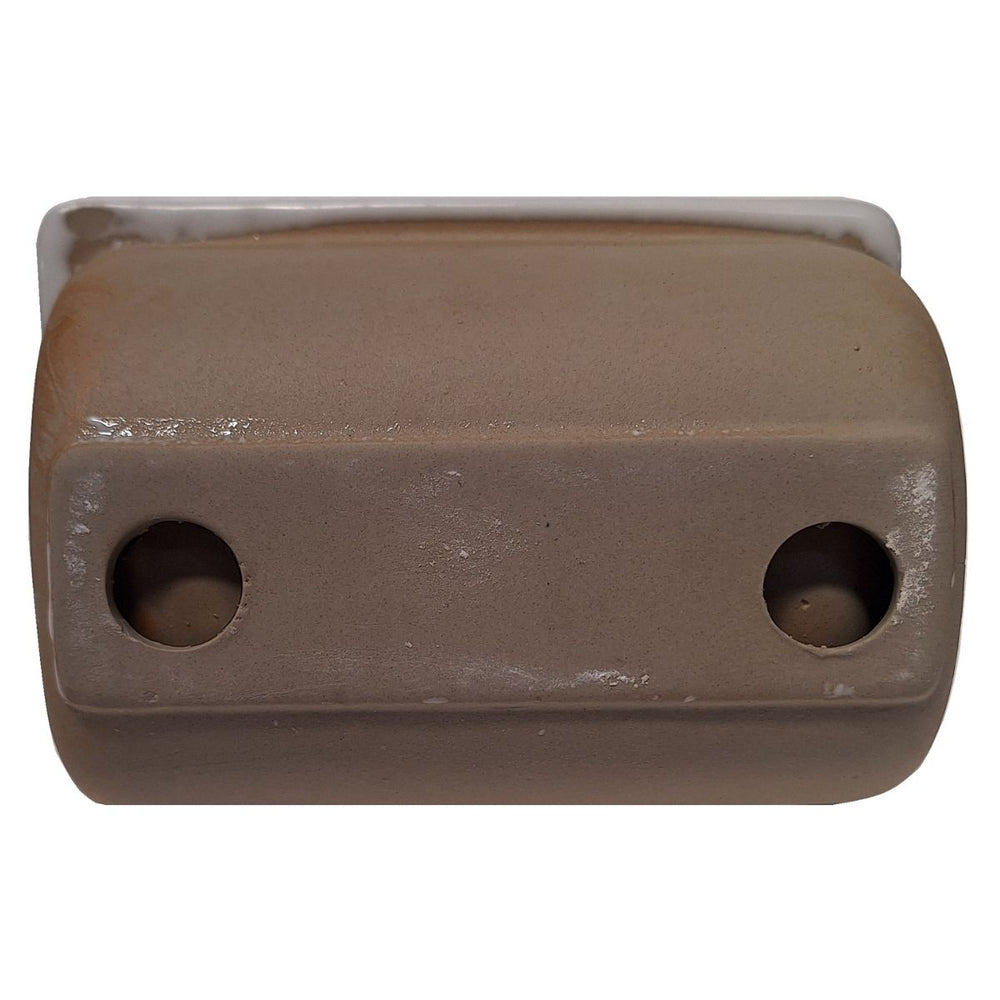
Back Insert: 5.5"x4"
Side Projection: 3.25"
- The soap dish is made of Premium ceramic materials.
- The soap holder is ready for installation, with no need to waterproof.
- For cleaning of the bar soap holder use only all purpose cleaners.
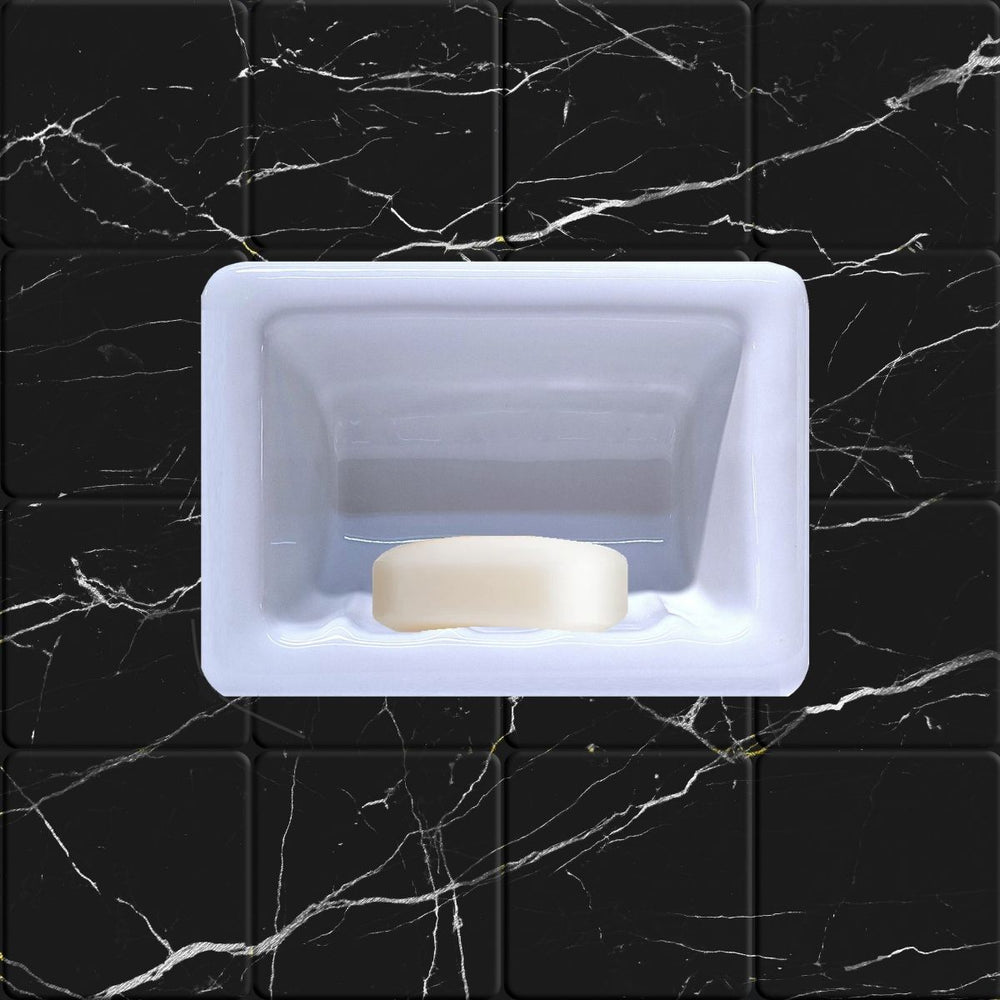
- The shower soap holder in wall is perfect for compact bathrooms and a sleek, built-in look.
- Easy Installation - complete the installation of your soap holder shower with a few easy steps.
Installation Instructions
Step 1: Select Location
Choose a convenient and accessible spot on the wall.
Ensure there are no pipes, electrical wires, or studs behind the chosen location.
Mark the position with a pencil, using a level to keep it straight.
Step 2: Cut the Opening
Measure the recessed portion of the accessory (the part that fits into the wall).
Transfer those dimensions to the wall, adding about 1/8 in. clearance.
Carefully cut the opening using a tile saw for tiled walls, or a drywall saw for non-tiled surfaces.
Step 3: Prepare the Surface
Clean any dust or debris from the cut opening.
Test-fit the accessory to make sure it sits flush with the wall. Adjust the opening if needed.
Step 4: Insert the Accessory
Press the accessory firmly into the opening until it sits flush with the wall surface.
Use a level to ensure it is straight and properly aligned.
Step 6: Seal with Silicone
Run a clean bead of silicone sealant around all outside edges of the accessory where it meets the tile or wall.
Smooth the silicone with a damp finger or finishing tool for a neat appearance.
Allow silicone to cure fully before use.
Step 7: Final Check
Confirm the accessory is secure and level.
Clean the surface with a soft cloth.
Payment & Security
Payment methods
Your payment information is processed securely. We do not store credit card details nor have access to your credit card information.