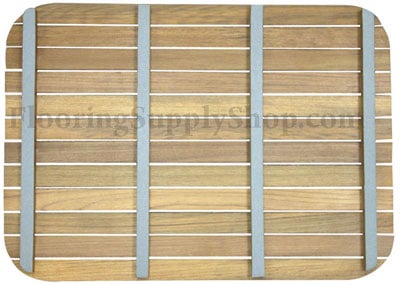
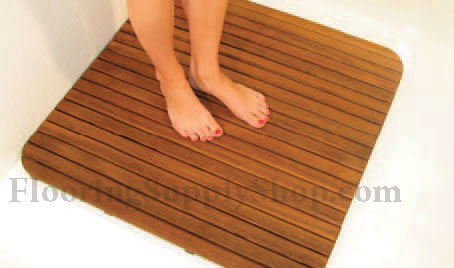
Replenish your Teak mat, bench bottom footing. When you purchase a teak shower mat or teak bench from Teakworks4u, the finish process involves bonding a premium, non-slip rubberized strip to the 3/4″ bottom supports (feet) of the mat.
As with anything, over time, this material on your teak mat or bench will wear or deteriorate. Wear will depend on use, re-arrangement and shampoo or cleanser use. For safety’s sake you should inspect the rubber footing on your mat or bench each time you clean or re-oil it. Absolutely inspect it if you start sensing any slippage or movement.
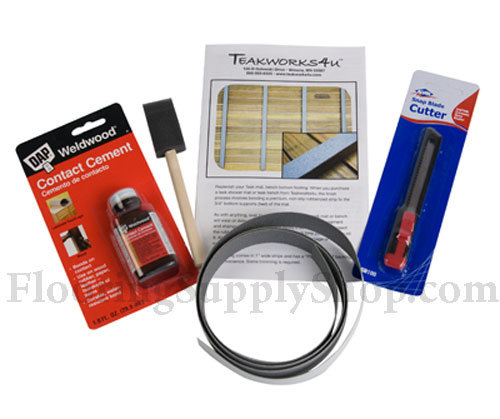
Our footing comes in 1″ wide strips and has a “PSA” peel off backing for convenience. Some trimming is required.
Read all instructions carefully before proceeding
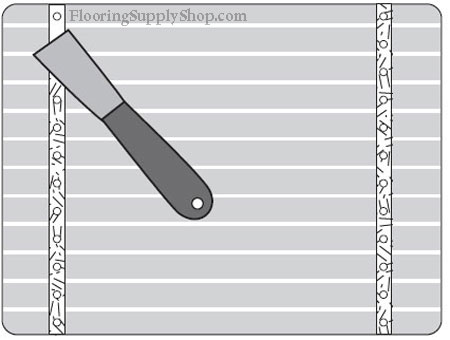
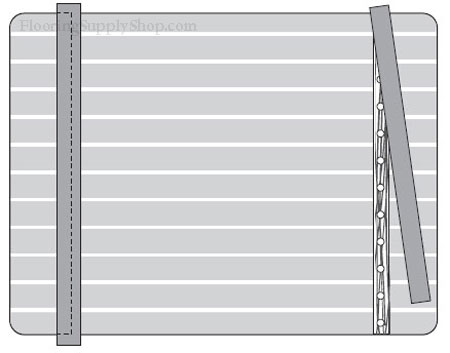
1. Remove the old footing material completely by scraping or sanding away any remaining adhesive and let dry. The supports need to be dry and free of residue and dust. While waiting, cut the lengths of the rubberized material. Cut the strips at least 1″ longer than needed for trimming in Step 5.
2. With the small foam or regular brush, apply a consistent thin layer of contact cement to the bottom supports being careful not to apply too much as to let the cement run down the side of the support. Let the contact cement dry 12-15 minutes (until glossy).
3. Peel off the backing to the rubber footing material and apply to the supports. Take your time and align the surfaces carefully. Once contact is made, adjustment is difficult. Be sure the strip overlaps the support by 1/2″ on one end and lines up evenly on one edge of the support (this helps with only having to “shave” off the strip on each support).
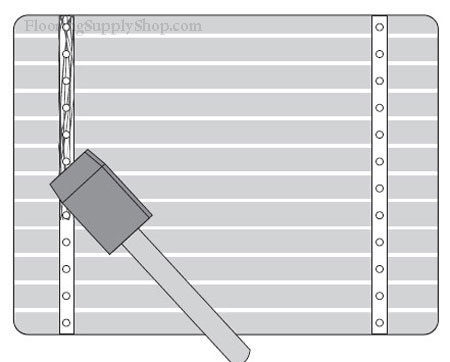
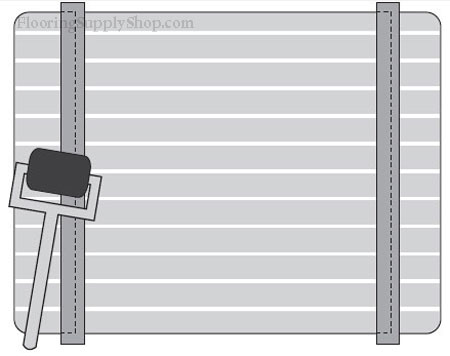
4. Apply the remaining strips and go back and make sure all of them are in full contact with the supports (we recommend a small roller, being careful of the wood edges…teak might have splinters…).
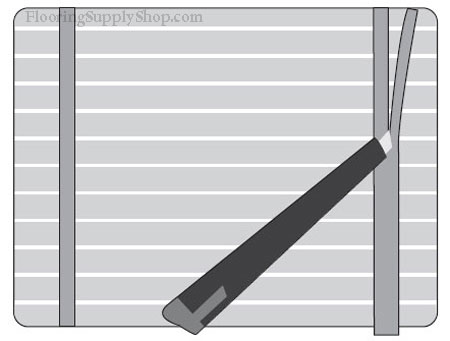
5. The final step is to take the sharp cutter blade and trim off the ends and edges of each strip. To cut the ends, score the strip just slightly inside the support. For the edges, start the blade at a slight outward angle and run the blade against the teak down to the other end. Support the portion being cut away with your other hand and pull up and away. Be careful, the knife blade is sharp.
Leave the mat or bench out of the shower area for 4 to 6 hours to allow contact cement to fully cure.
Assembly Instructions for Teak Bench
Copyright © 2012 FlooringSupplyShop.com
