
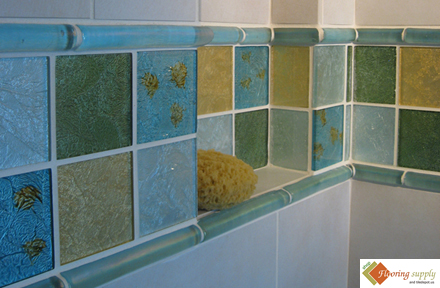
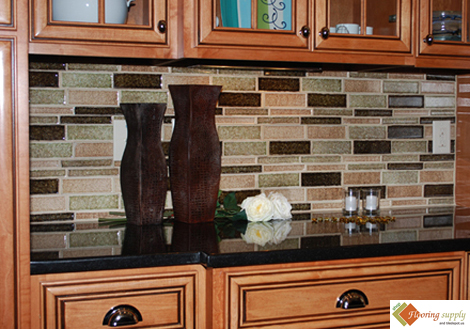
Among the numerous tiles available, homeowners are increasingly choosing glass tiles that add a unique look to their homes. Glass tiles are available in an assortment of colors, sizes, designs, shapes and styles that can easily blend with the decor of any room. In case you are thinking about installing glass tiles, you can choose amongst the various options, such as clear glass, frosted and bubble glass tile. Any of these glass tile options can easily spruce up any room in your home.
Choosing amongst these unique and beautiful tiling options is a daunting task, but once you have made the selection, it is time for installation. Installing glass tiles is not that difficult for experienced DIY enthusiasts; however, amateur DIY enthusiasts may need to be little careful while performing the task. If you are planning to install glass tiles, foremost, ensure that you have all the necessary tools and equipment needed to complete the task.
For installation, first, you need to prepare the substrate; ensure that the surface on which the tiles need to be installed is smooth, flat and without any cracks. The substrate should also be dry as well as perfectly clean so as to effectively apply the adhesive. Next, you need to apply is the thin-set; generally white, acrylic modified thin-set mortar is recommended by experts. It is usually available in pre-mix form, and is thus easy to use. Make sure not to use mastic adhesives, as these tend to become yellow with passing time.
For applying the thin-set, you can use the notched side of a 3/16″ V-notch trowel, which is easily available in the market. Hold the tool at an angle of 45° to the substrate for applying the adhesive. Make sure that the thin-set is thick enough to provide a strong grip, but not too thick as it may result in uneven surface, along with irregular spots and shrinkage. In case there are any ridges, you can smoother them with the long flat edge of the trowel, while taking precaution not to remove any thin-set.
Once the thin-set is appropriately applied, its time to install the glass tiles. You can cut the tiles into small pieces as these are easy to install. You can either use a mosaic glass cutter with blades shaped like small wheels or use a wet saw. After getting the desired size, ensure that the tile’s mesh side is clean, dry and free of any dust or debris. Be careful to install the tiles with its mesh side facing the contact surface. To ensure a tight, even bonding with the thin-set, use a wooden block held against the tile sheets and tap on it lightly. Make sure to remove any excess adhesive from the edges. Leave the tiles undisturbed during the curing time, as per the manufacturer’s recommendations.
After this, you can grout the joints with the help of rubber grout float, for increased performance and longevity of the glass tiles. It is advised to choose white colored un-sanded grout with a latex additive for fine finish; however, you may also choose other colors for added effect. Last but not the least, add an anti-microbial and mildew inhibitors that will protect the tiles against mold and mildew menace.
Following these simple steps, you can efficiently install the beautiful glass tiles in your home, adding to its aesthetic appeal.
Copyright © 2010 FlooringSupplyShop.com
The post How to Install Glass Tiles first appeared on Flooring Supply Shop Blog.
ceramic bathroom tiles Ceramic tile Glass tiles kitchen Glass Tile mosaic tiles shower tile
Marvelous post! Already Bookmarked to come back again….